Halloween happens to be one of my favorite holidays. I have a love for all things spooky, am a firm believer in ghosts, and I'm fairly certain that my house is haunted. What I love even more than all things spooky, is getting to decorate my house for Halloween. I usually go all out with the decorations but a few years ago, a lot of my decorations were destroyed during a terrible storm. Between that and most kids attending Trunk or Treat in our downtown over the last two years, I haven't felt like decorating for Halloween. However, this year is much different. While we won't be passing out candy because of Covid and I'll also be at work, I really want to decorate this year.
Since finances are a concern for many of us across the country, I thought it would be great to see what types of Halloween decorations I could make myself. One thing I wanted to make is a cute wreath for our front entryway. This is an area of the house that often gets overlooked because we typically don't use our front door, but I felt like it needed something festive! I figured that I could make a fun wreath and keep it inexpensive by going to my local Dollar Store. Once there, I was so excited to see that my local store had expanded their craft section and had so many cute things to craft with. I found exactly what I needed to make a fun Halloween Wreath and it only costs $5.00!
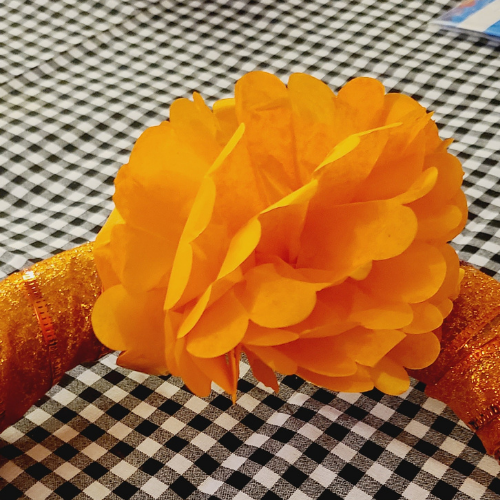
After each pom is fluffed, use the ribbon to tie each one, alternating colors, to the wreath form. I ended up using all but two of my poms. I secured each ribbon to the back of the wreath with a small piece of tape and made sure that each ribbon was knotted tightly. Since this is a paper wreath, I plan on using this indoors but I really love how this turned out. It was super simple to make and didn't take much time at all. The most time-consuming part is fluffing up the poms. I suggest having someone help you to make it go by faster.


These are some great ideas, thanks for sharing them! I am simply such a big fan of halloween that I like to dress up every year with something cool and will stand out above the rest.
ReplyDeleteHome depot coupons 20% online